

Why Muse Essentials Matter
Before the gel, before the color, before the shine—proper nail preparation is everything. Whether you're a nail tech or doing a flawless set at home, Muse Essentials are designed to give your manicure the cleanest start and longest wear possible.
Using these professional-grade products in the right order prevents lifting, peeling, and premature chipping. With Muse Prep, Bond, Cleanser Spray, Wipe Spray, Lint-Free Wipes, and Cuticle oil you’ll create a clean, hydrated, and adhesive-ready surface for gels, extensions, and more.
💅 Muse Essentials: Step-by-Step Nail Prep Routine
For long-lasting gel nails and a clean, professional finish
1. Cleanser Spray – Start with Clean Hands & Tools
Purpose: Disinfects the client’s hands, your hands, and your workspace.
Why it’s essential: Kills surface bacteria and ensures a hygienic base for nail work without drying the client’s skin.
How to use:
Spray directly on hands and tools.
Let air dry before continuing.
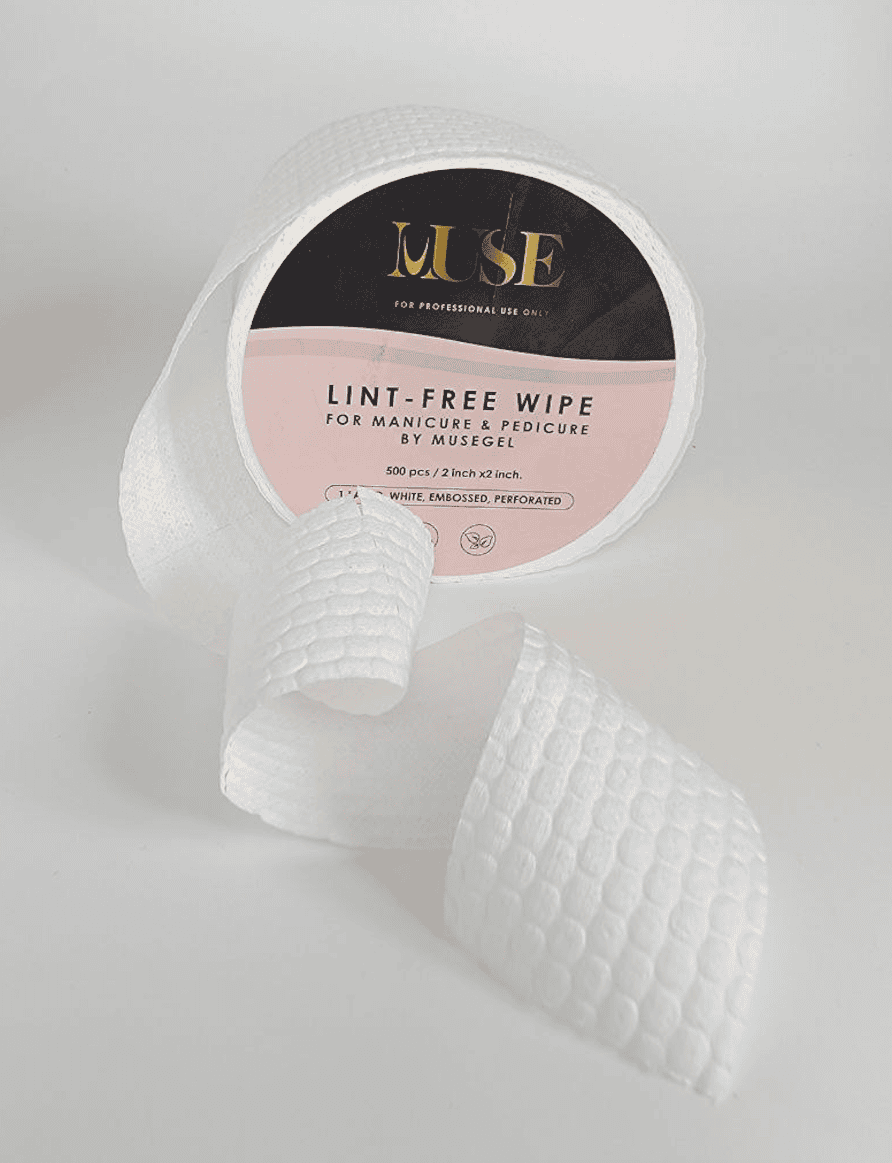
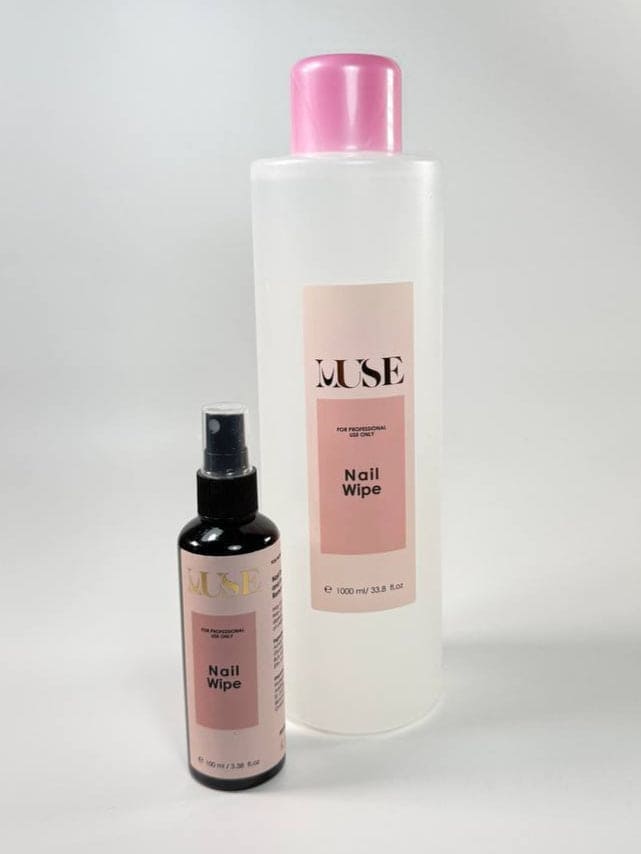
2. Wipe Spray – Nail Bed Cleaning After Product Removal
Purpose: Removes residue, dust, and oils after product removal.
Why it’s essential: Prepares the natural nail for a long-lasting and clean application.
How to use:
Spray onto Muse Lint-Free Wipes.
Gently wipe the natural nail bed to eliminate all dust and product traces.
Eco-friendly, non-flammable, and safe for skin contact.
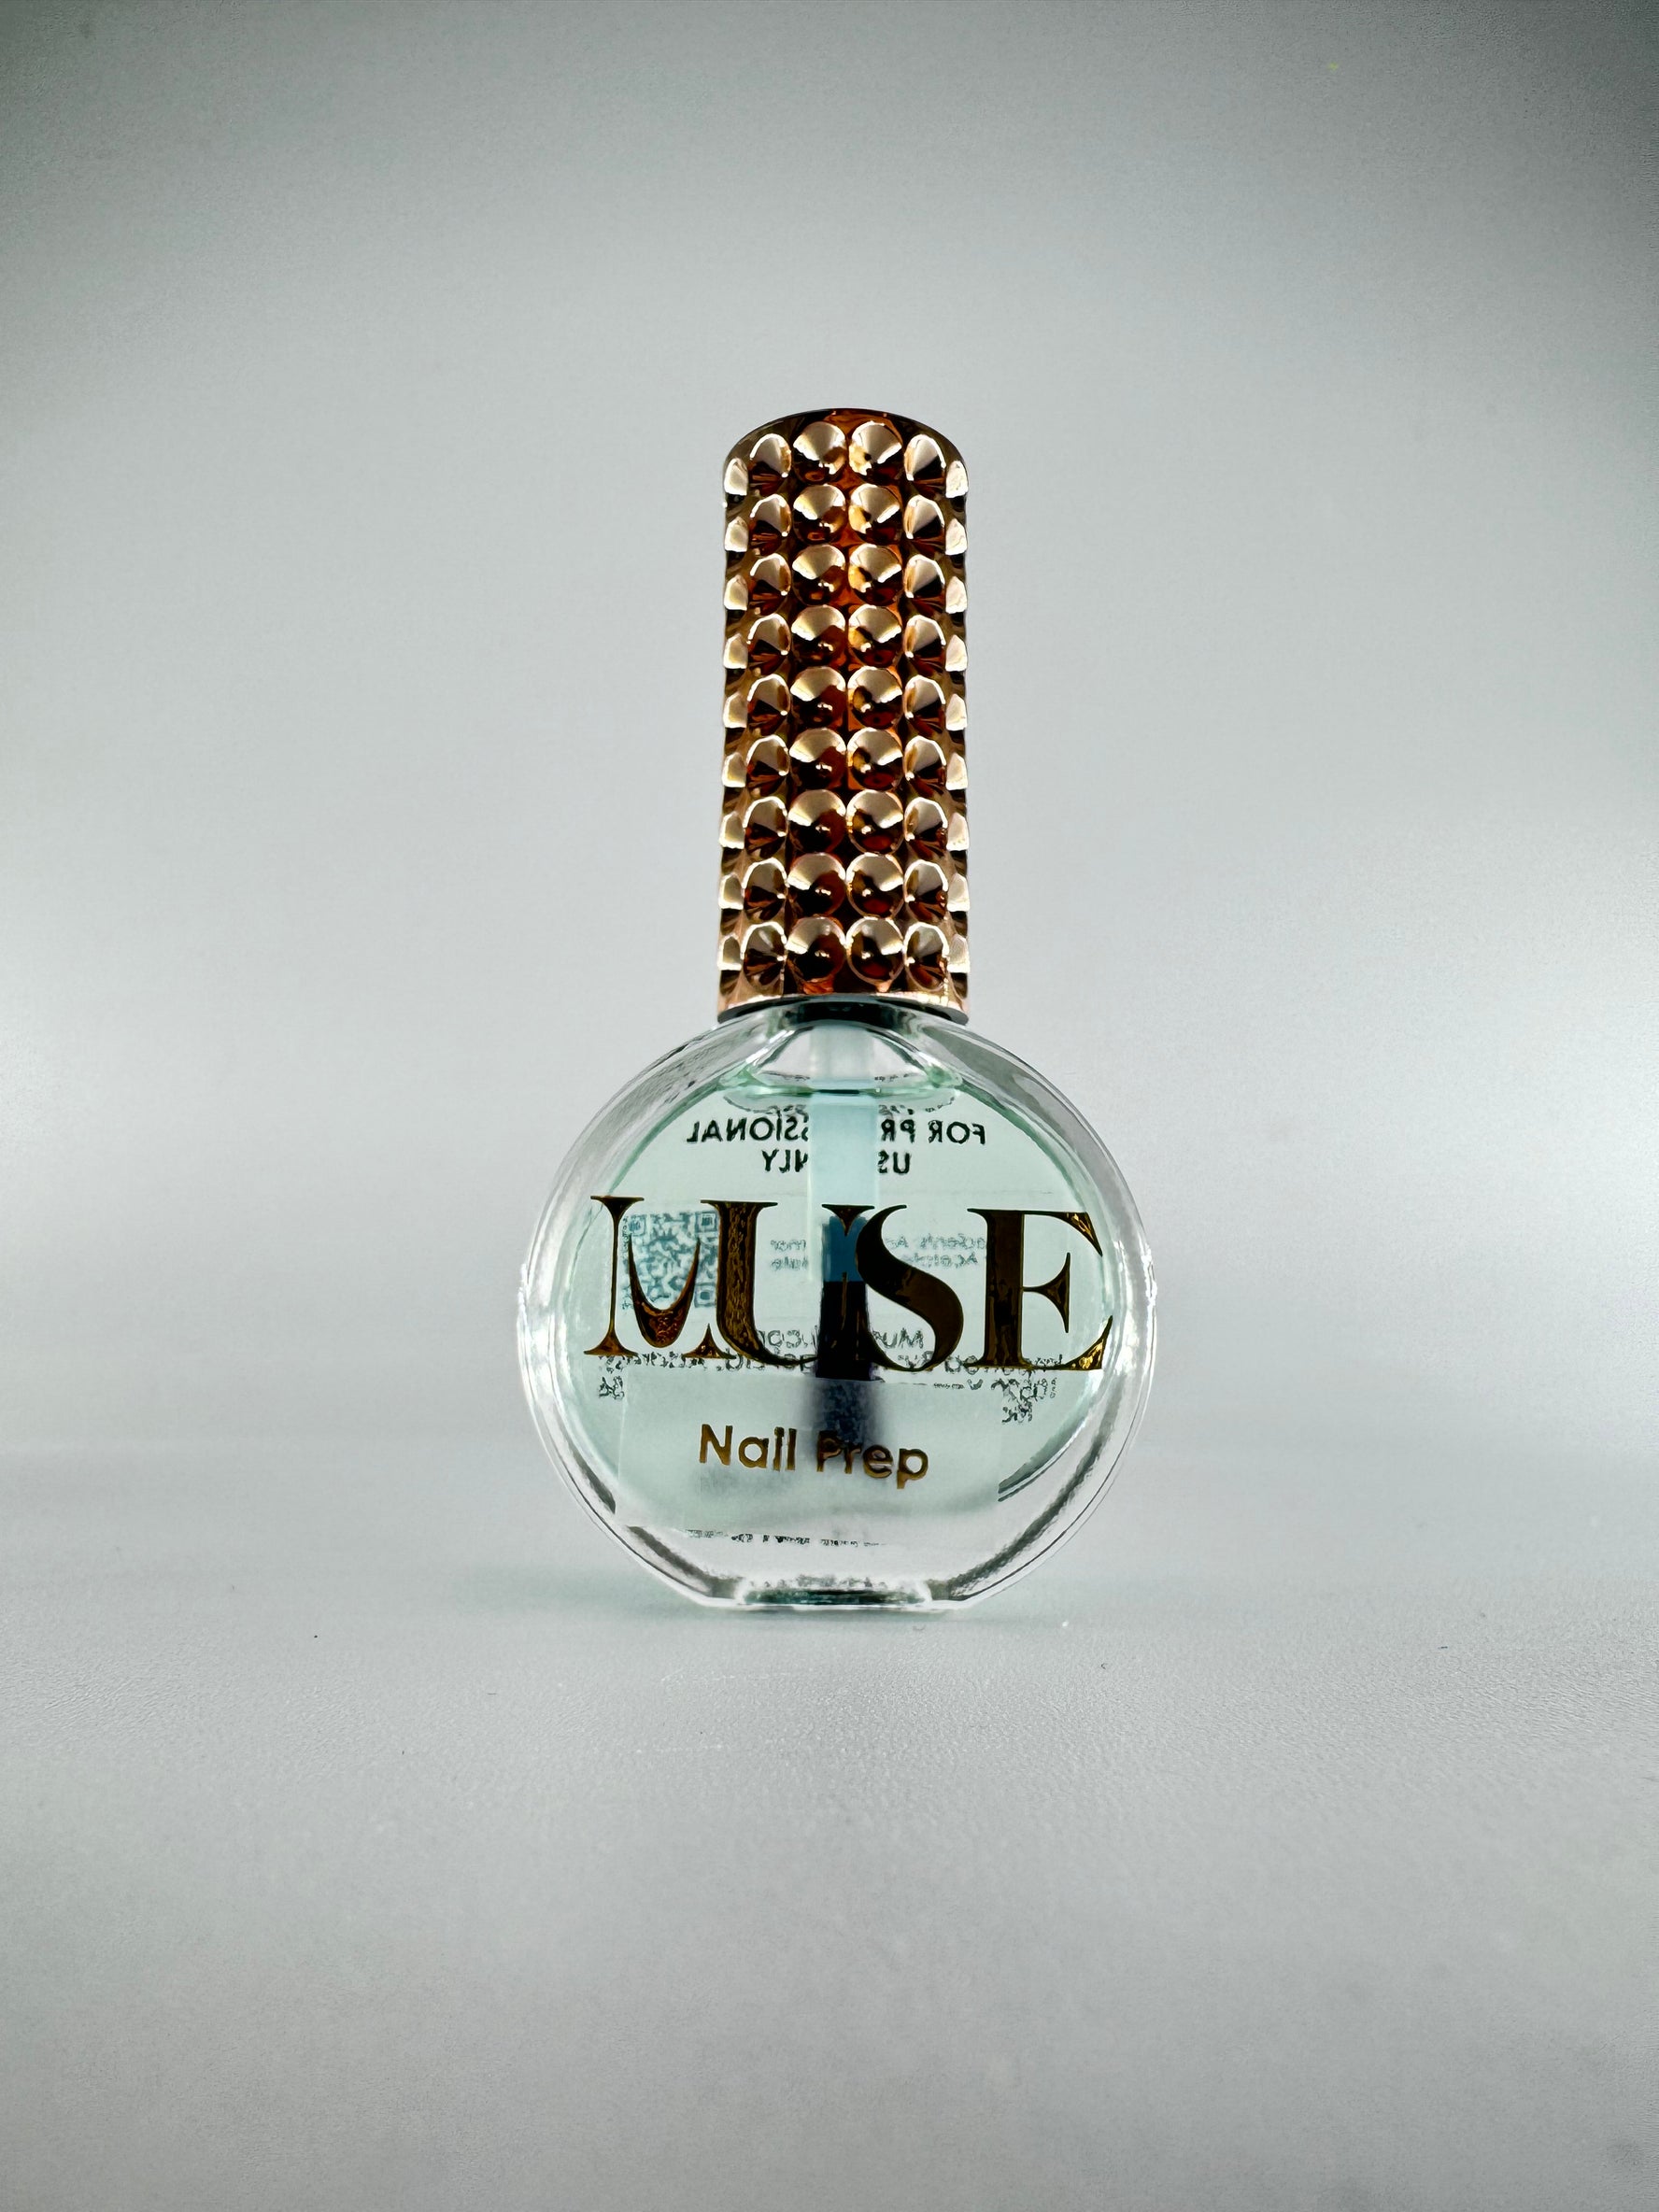
3. Muse Prep – The Powerful Nail Dehydrator
Purpose: Removes any remaining natural oils or moisture on the nail plate.
Why it’s essential: Improves gel adhesion and prevents lifting or peeling.
How to use:
Apply the prep on each nail and focus on the under the cuticle area.
Allow to air dry completely—do not touch the nail afterward.
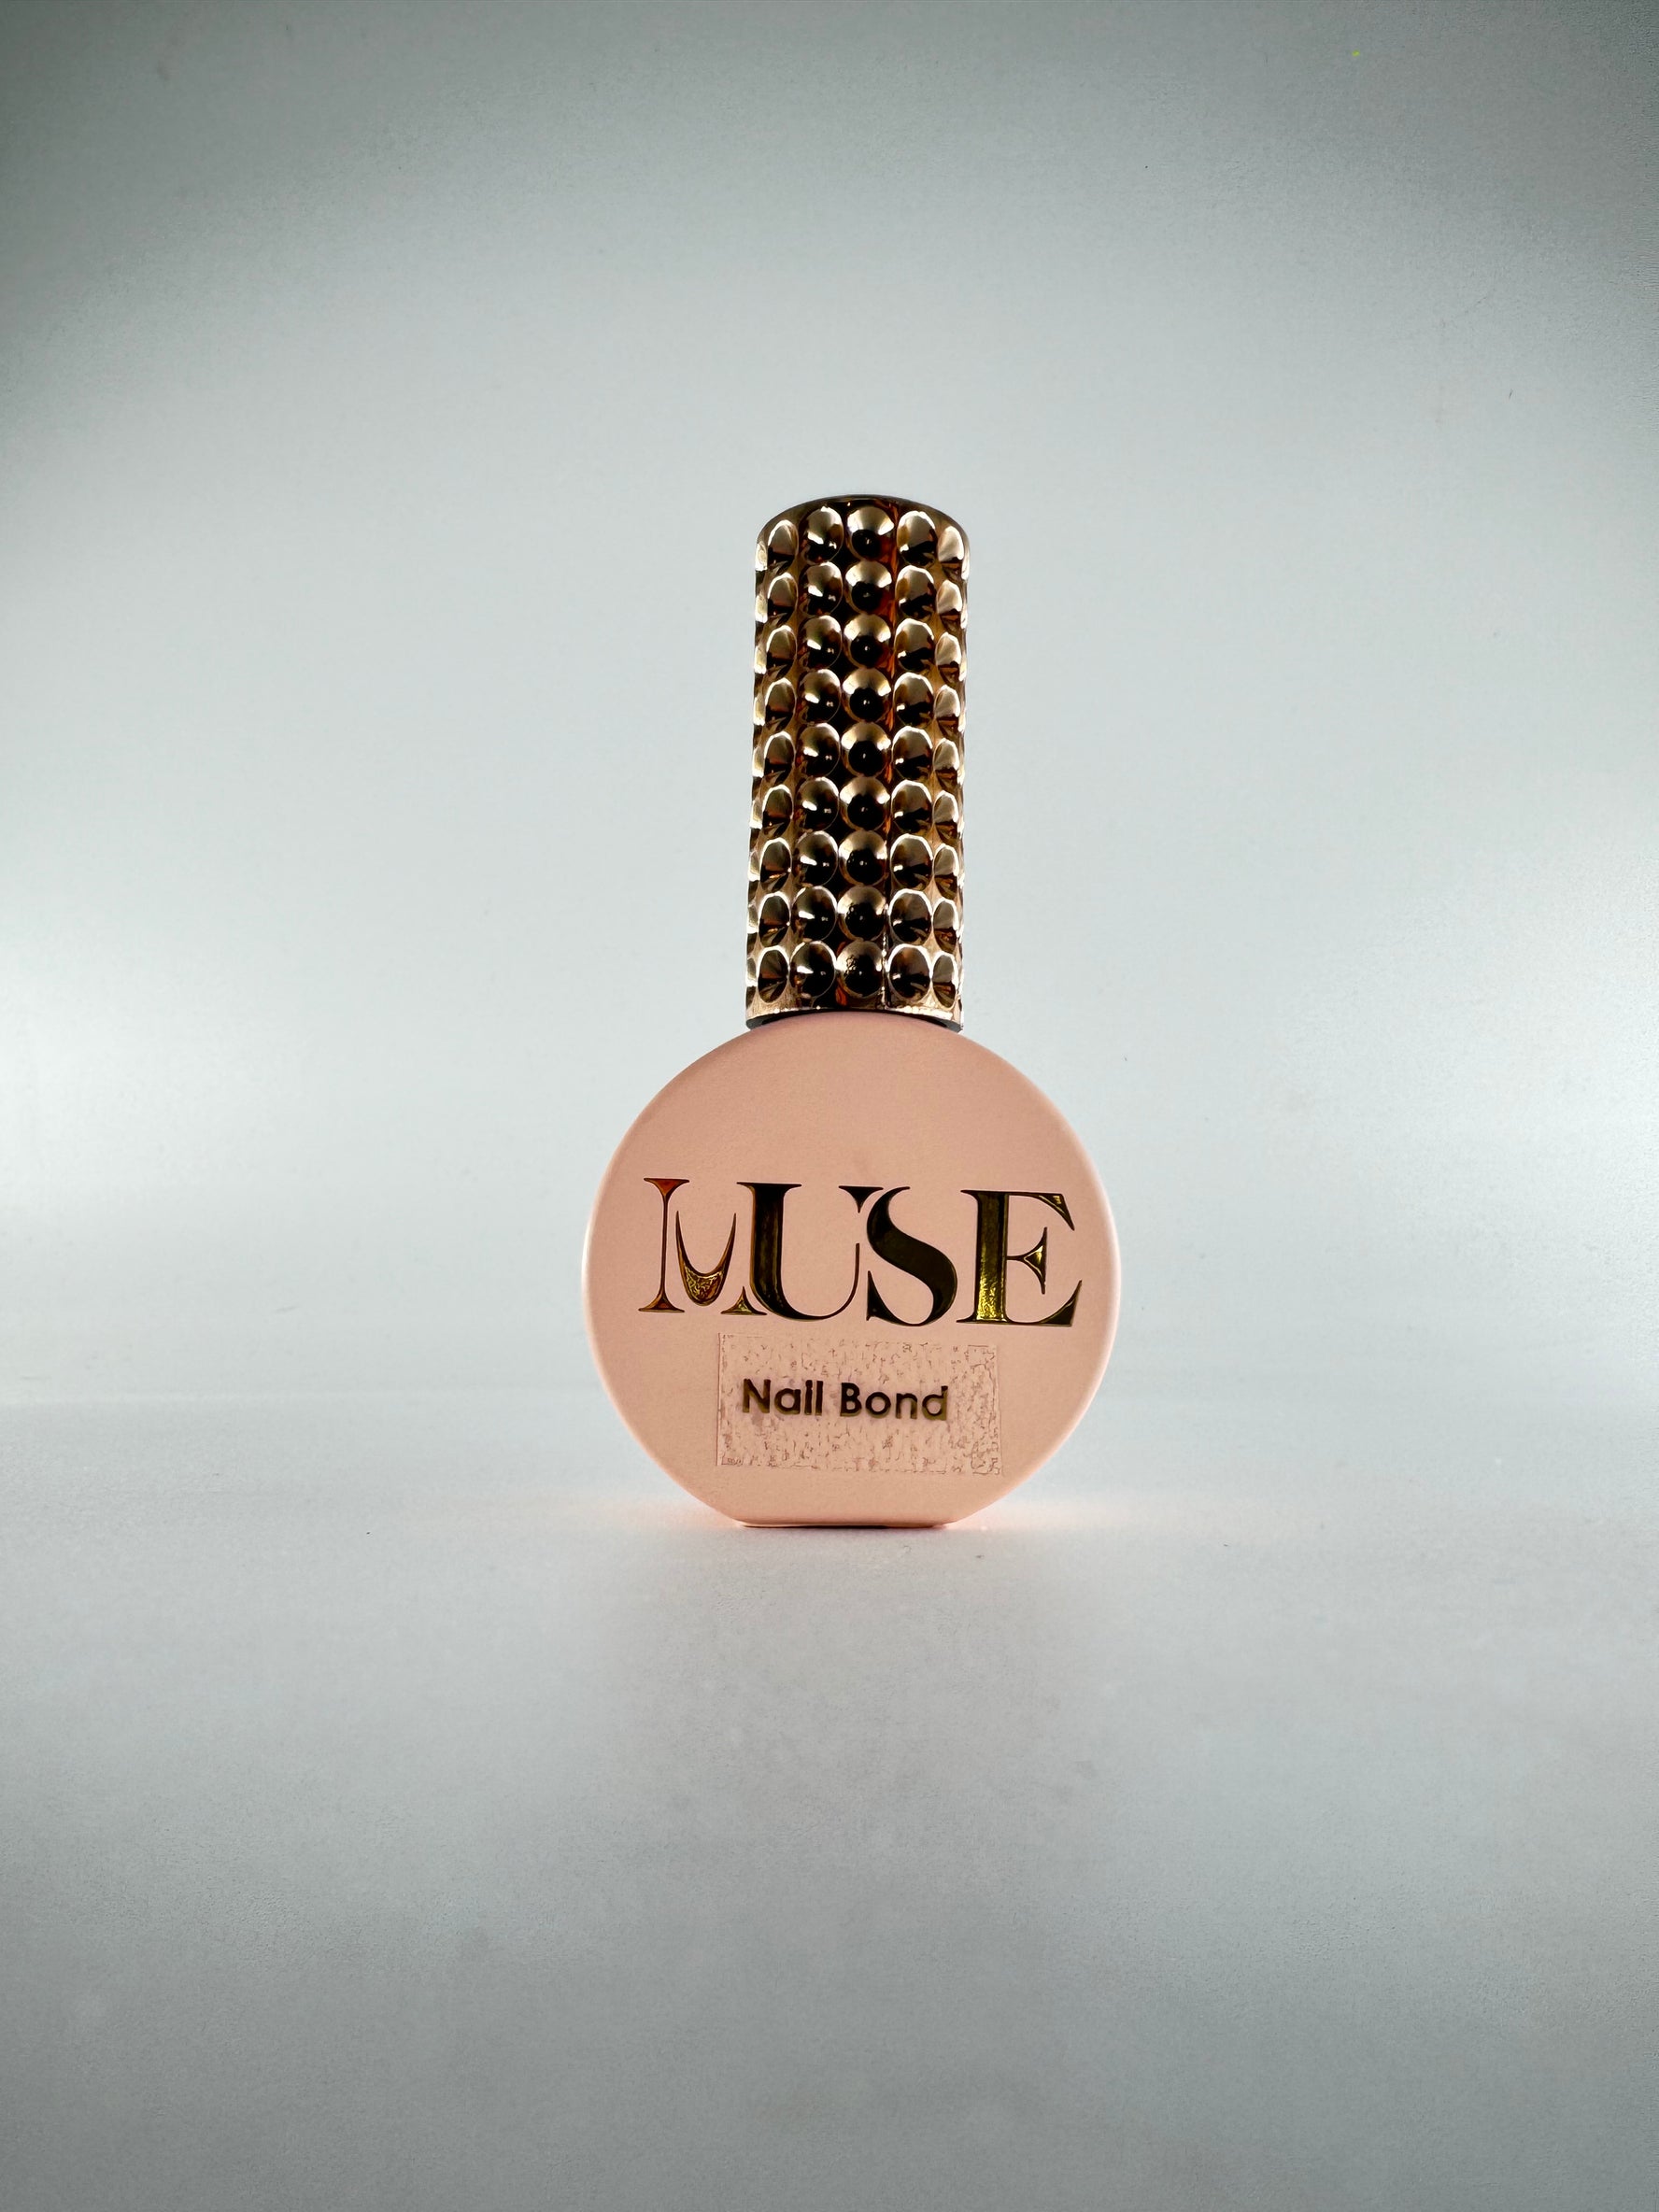
4. Muse Bond – Acid-Free Primer for Strong Adhesion
Purpose: Acts as a primer, creating a long-lasting bond between the natural nail and gel product.
Why it’s essential: Helps prevent chipping, lifting, or premature wear (not for soak-off with acytone).
How to use:
Apply a small amount to each nail after Muse Prep (avoid the skin).
Let it air dry fully (do not cure).
Proceed with base gel or builder gel application.
5. Dry Cuticle Oil – The Final Touch
Purpose: Nourishes cuticles without leaving an oily finish that interferes with wear or shine.
Why it’s essential: Hydrates dry skin, improves the overall look, and finishes the service professionally.
How to use:
After gel application is complete and the top coat is cured, wait a second, then apply to each cuticle.
Gently massage in.
No greasy residue—perfect for immediate photos or client hand care.
Contact form
Some text for your contact form. You can use multiple lines of text.